Welcome to the wonderful world of sewing! If you’re looking for your very first “real” garment project, you’ve found it. The circle skirt is the ultimate beginner project. It has no complex darts, no difficult pleats, and no confusing sleeves. It’s mostly just straight lines and simple curves.
In this easy circle skirt tutorial for beginners, we are going to take you from a pile of fabric to a finished, swishy skirt that you can actually wear. We’ll keep the instructions simple, the math minimal, and the fun maximum.
What You’ll Need
Before we start, gather your “sewing kit.” Don’t worry if you don’t have professional tools yet; a basic setup will work just fine.
- Fabric: 2–3 yards of 60” wide apparel fabric (Cotton, Linen, or Rayon).
- Thread: All-purpose polyester thread that matches your fabric color.
- Measuring Tape.
- Fabric Scissors.
- Pins or Clips.
- Iron and Ironing Board (This is your most important tool!).
- Waistband Closure: Either 1” wide elastic OR a 7–9” invisible zipper. (We recommend elastic for your first one!)
Step 1: Get Your Numbers
You need to know where to cut. For a beginner, we recommend a Half-Circle Skirt—it uses less fabric and is easier to manage than a full circle, but it still has a beautiful flare.
- Measure your waist at the narrowest part.
- Decide how long you want the skirt to be (e.g., 20 inches).
- Use our Circle Skirt Calculator. Select “Half Circle” and enter your numbers. It will tell you your Waist Radius and your Outer Radius.
Step 2: Prepare Your Fabric
Do not skip this! Most fabrics shrink when they are washed for the first time.
- Wash and dry your fabric exactly how you plan to wash the finished skirt.
- Press the fabric flat with an iron. Cutting wrinkled fabric leads to uneven measurements.
Step 3: Folding and Marking
We are going to fold the fabric so we only have to draw the arcs once.
- Lay your fabric flat on the floor or a large table.
- Fold the fabric in half once, matching the selvages (the factory-finished edges).
- Identify the “Corner of the Fold.” This is your starting point.
- Mark the Waist Arc: Measure out from the corner to your Waist Radius and draw a curved line with chalk.
- Mark the Hem Arc: Measure out from the same corner to your Outer Radius (Radius + Skirt Length) and draw a second, larger curved line.
- Pro Tip: Use a piece of string and chalk like a compass to get smooth, perfect arcs.
Step 4: Cutting
Take a deep breath!
- Cut along the outer hem line.
- Cut along the inner waist line.
- When you unfold it, you should have a large semi-circle with a hole in the top.
Step 5: The Waistband (The Easy Way)
For beginners, an elastic waistband is the fastest and most forgiving method.
- Cut a strip of fabric that is:
- Length = Your Waist Measurement + 2 inches.
- Width = 4 inches (for 1” wide elastic).
- Sew the short ends of the strip together to form a loop.
- Fold the loop in half lengthwise (wrong sides together) and press it with your iron.
Step 6: Attaching the Waistband
- Pin the waistband loop to the waist hole of your skirt, matching the “right sides” of the fabric.
- Sew all the way around using a 5/8” (1.5cm) seam allowance.
- Leave a 2-inch gap unsewn! This is where you will insert the elastic.
- Thread your elastic through the waistband using a safety pin.
- Sew the ends of the elastic together, then sew the 2-inch gap closed.
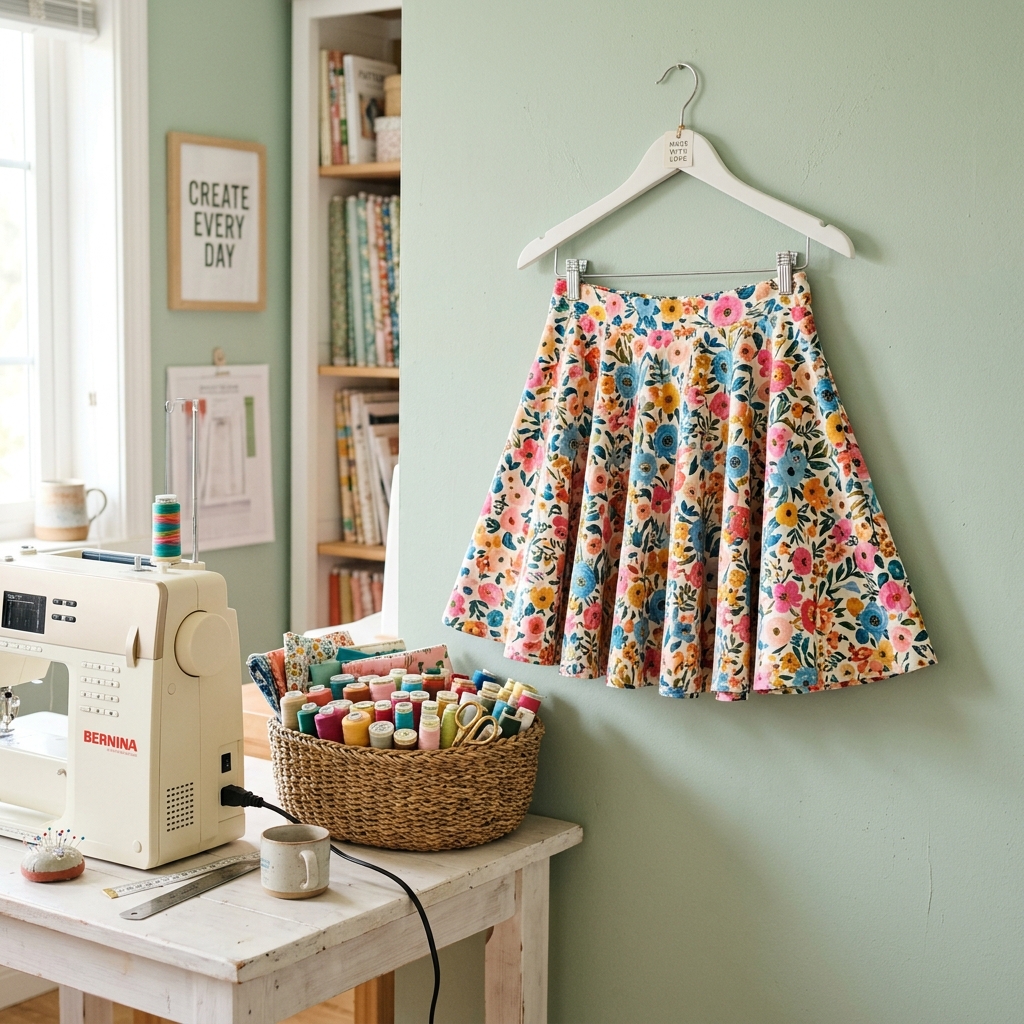
Step 7: The “Hanging” Step
This is the secret to a professional-looking skirt.
- Hang your skirt on a hanger.
- Wait 24 hours.
- Because the fabric is cut on a curve, it will stretch. After 24 hours, you might notice the sides are longer than the front.
- Have a friend help you trim the hem so it is perfectly level with the floor.
Step 8: Hemming
- Fold the bottom edge up by 1/4 inch and press.
- Fold it up another 1/4 inch and press again.
- Stitch all the way around the bottom edge. Take your time—it’s a long way around!
Summary Checklist for Success
| Phase | Key Action | Why? |
|---|---|---|
| Pre-Wash | Wash and dry fabric | Prevents the skirt from shrinking later |
| Calculation | Use the calculator Tool | Ensures the waist hole actually fits |
| Ironing | Press every seam after sewing | Makes the difference between “homemade” and “handmade” |
| Hanging | Wait 24-48 hours | Prevents an uneven, wonky hemline |
❓ FAQ SECTION
How do you make a circle skirt for beginners? The easiest way is to calculate your radius, cut the arcs from folded fabric, and use an elastic waistband. This avoids the difficulty of installing zippers and complex fitting.
What is the best fabric for a beginner circle skirt? Cotton lawn or linen are best. They don’t slide around while you’re cutting, and they take a crisp press from the iron, making the sewing process much easier.
How much fabric do I need for my first circle skirt? For a knee-length skirt, 2.5 to 3 yards is a safe amount. Check our Fabric Yardage Guide for exact requirements.
Can I sew a circle skirt without a sewing machine? Yes, but it will take a very long time! Because the hem of a circle skirt is so long (often 200+ inches), we highly recommend using a machine.
🎯 Ready to Start?
You have the guide, you have the tools—now you just need your numbers!
Open the Circle Skirt Calculator to get your custom measurements right now.
If you’re stuck on which fabric to buy, see our Best Fabrics for Circle Skirts guide, or if you want to understand the “why” behind the numbers, check out our Circle Skirt Formula Explained.
Happy sewing! We can’t wait to see what you create.